Saturday, August 28, 2010

Tink

Hi Everyone.
Quick post today. Emma from My Creative Time is having a Tinkerbell challenge and I wanted to join in on the fun. She is currently a fave of my niece so I wanted to make her a LO for the picture she took of her and Tink at Disney. This cart is really cute but very intricate. I was trying to pull this one off as well as a complete Double LO of Snow White and the 7 Dwarfs at the same time. It was not easy, Toooooooooo many teeny tiny pieces. So some yelling happened as well as some scouring of the floor for missing shoes and noses. Ahhh, good times. Lol. Ok so here's my simple but very glittery and cute Tink LO. I did some minor shading to her skin with my prismacolor pencils to give her a bit of color.

Picture 1: The LO

Picture 2: Closeup

Thanks for stopping by. And as always, I love reading your comments.

Friday, August 27, 2010

Mini School Kits: Part2

Hi Everyone!
Today I'm showcasing the card kits I made to go along with the mini school kits. Aside from giving them school supplies, I wanted to give them some cute cards for them to write love notes to the cute boys across the room or friendship notes. I might be giving them something to distract them but eh, who cares, I'm not the mother. Lol! I kept the cards somewhat simple because I am giving them to non-crafty kids so I know that they will find them cute :) and they'll end up in the trash bin before the month is over. Ok, so onto the post...

Picture1: Set 1 is for Audrey (the pre-teen that LOVES skulls). For this set I used the Rock Princess cart. I made her five A2 postcards with a matching cute box. I left the greeting bubbles empty so she can write the sentiment of her choosing.

 
Picture 2: Set 2 is also from the Rock Princess cart. This set is actually a set of altered cards. They come from Target's $1 bin section. I liked the buttons and ribbons it came with but I wasn't crazy about the design/quality of the paper. So I turned them into this. 

Picture 3: Set 3 is also an altered set that comes from Target. I used the Create a Critter cart for this one because my niece really loves this cart. I used big goggly eyes on them to make them look cute and silly. 

I am also entering this set of critter cards in Stephanie's Whimsical Wednesday Challeng (Always Crafting). The theme of her challenge is to use any cutie from the CAC cart. This is her first challenge so go on over to show her and her blog some love. Join in on the fun. She's a really great person and she's there to help and inspire.

I am also entering this set in Christina's Critter Challenge (Card Creations & More by C). Her theme was also Create a Critter. This is also  her first challenge/giveaway. Go on over to check out all her cards and creations and join in on the fun.

Thanks for stopping by. As always I love to read your comments.

Wednesday, August 25, 2010

Mini School Kits: Part1

Hi Everyone,
Like I said yesterday, I've been working on some mini Back-to-School Kits for my nieces (and a friend). I started working on this project over a week ago. My goal was to finish in a couple of days but that wasn't the case. This part of the project was prob the most time consuming. I somehow thought that I could alter these notebooks in less than 30 minutes like other crafters do. Lol!

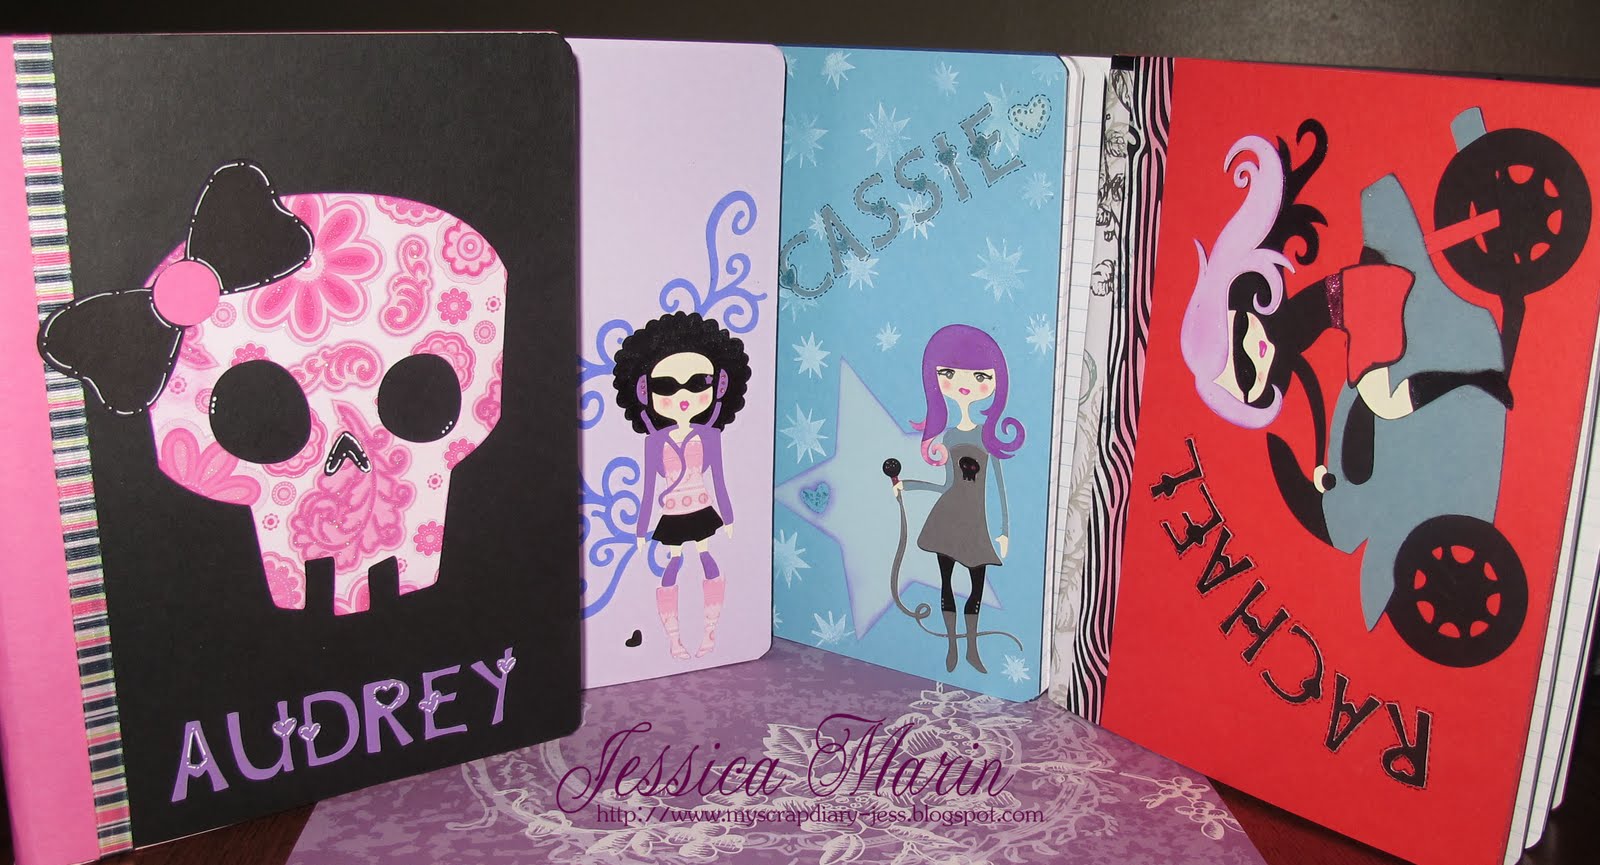
So onto the project. I was inspired by several sites to alter a composition book. I know I couldn' pop dot any images or get extremely fancy but I did want to add my flair to them. I used the Rock Princess cart for all 4 comp books. I used their favorite colors and images that related to them...

Picture 1: Front covers

Picture 2: Book #1 is for my niece that is a senior in HS. She's hoping to learn how to drive this year so I thought this super cool chick was appropriate. I'm not completely done with this one. I want to ink the bike and add some white to the tires.

Picture 3: Inside of the comp book. Since I have never been a fan of the composition book I decided to cover up the inside of it as well.  All 4 of them are covered in the same manner but with different colors. They all have a pirate cupcake and they are all stamped with "You Are Fabulous", a butterfly and a heart sporadically throughout the pages.

  
Picture 4: Book #2 is for my 8yr old niece that loves purple and music, like myself. I just need to add her name and then I'm done.

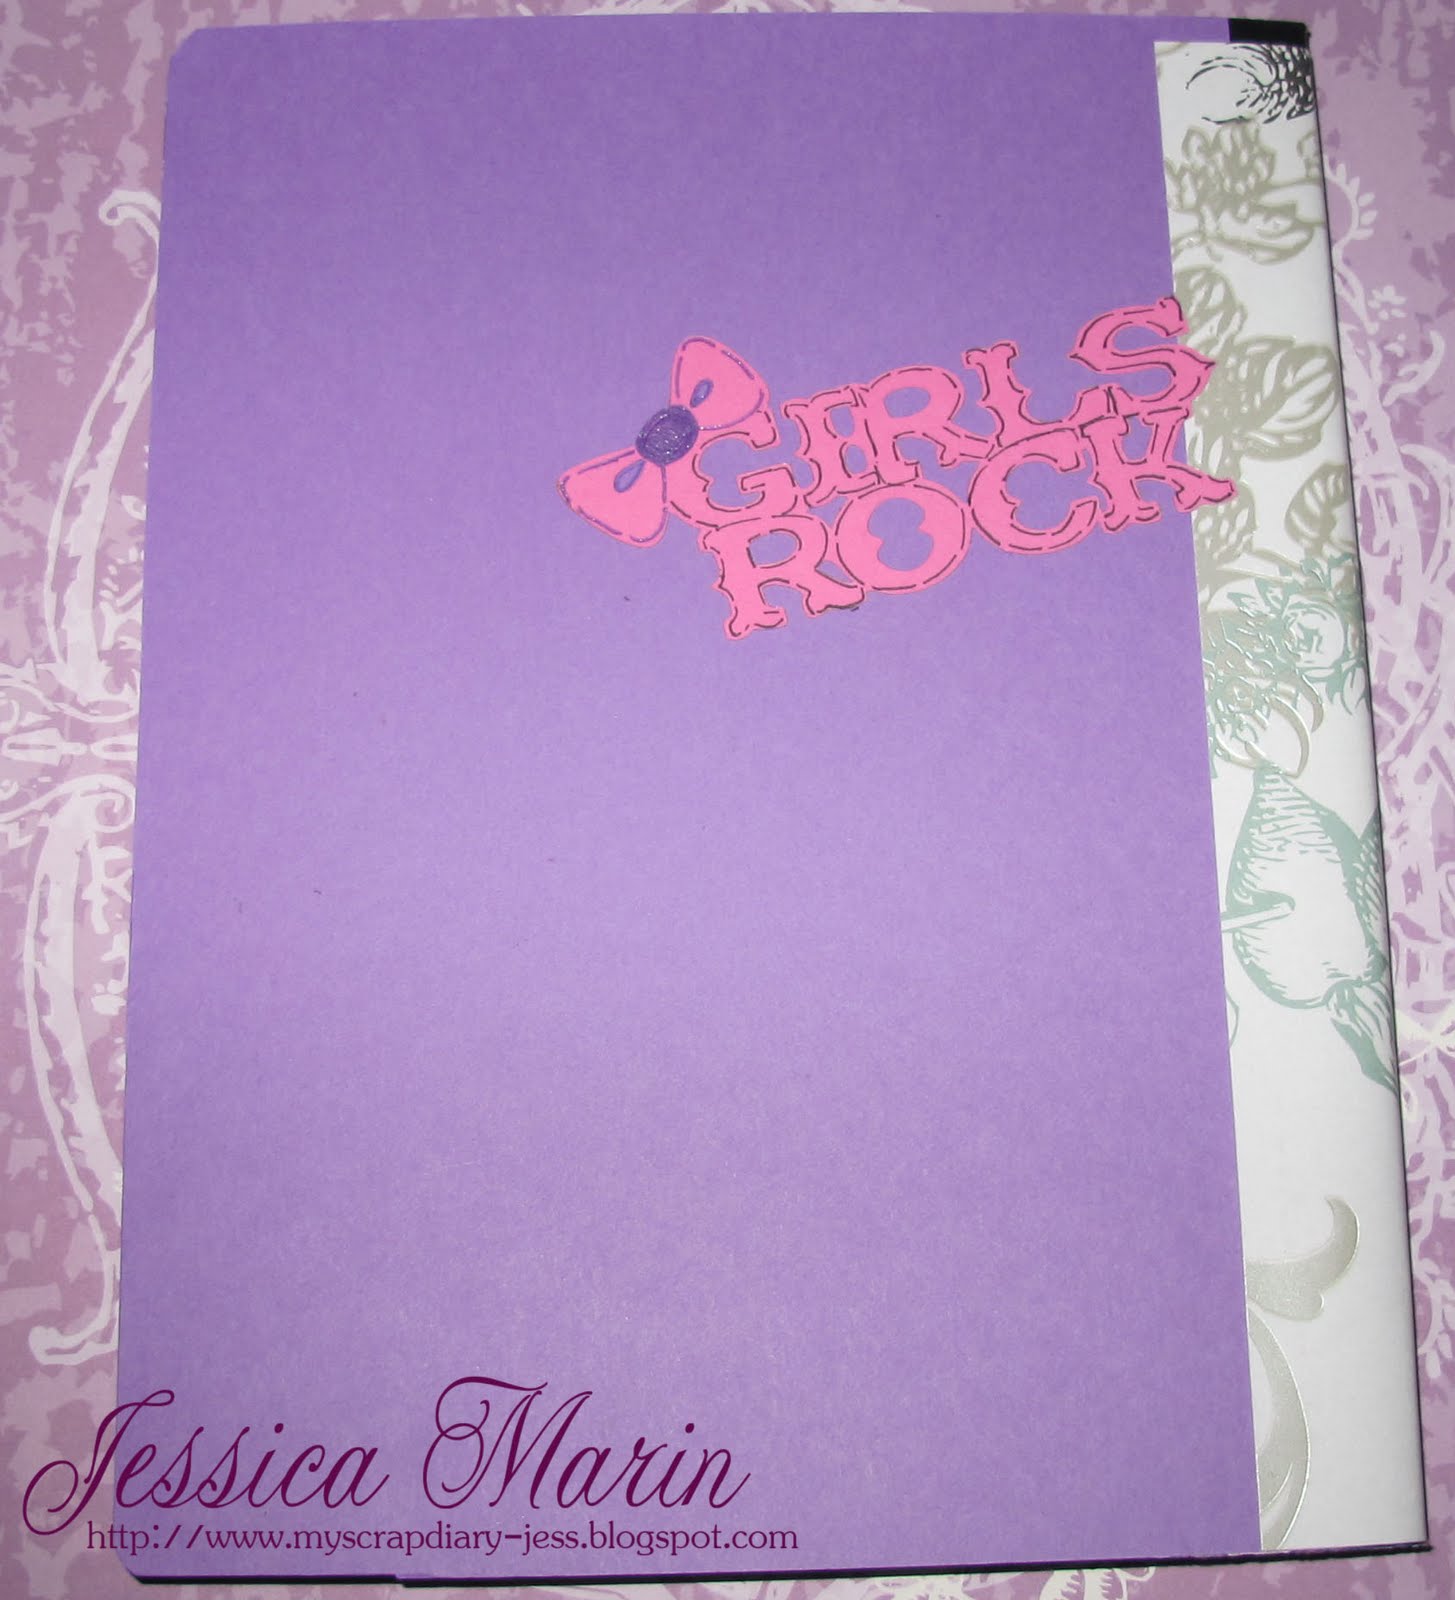
Picture 5: This is the back of the comp book. Like I said, they all look the same except for the colors and placement of the "Girls Rock" image.

Picture 6: Book #3 is for the daughter of one of closest friend. Her DD wanted the Rock Princess cart but it wasn't possible. So I thought I would do a kit for her as well. Audrey loves skulls. She will be turning 12 at the end of this year so she is already at that stage that she wants to dress with dark colors, skinny jeans and skulls. 

Picture 7: Book #4 is for my 10 year old niece that loves to sing and perform. She's slowly being corrupted by Provocraft. Lol. Every time she visits, she wants to use the cricut to make a card or make cuts to take with her.

Picture 8: So I managed to turn this into everything you saw.

Hopefully you are still with me. I do apologize that the post was long. I edited as much as I could. And hopefully I inspired you to alter your own comp book. If I did, please come back and let me know.

I am also entering these comp books in two challenges.
  1. Charisma Cardz Challenge - #33 "Die Cut" Theme, interpreted as I please.
  2. Cricut Cardz Challenge - #39 "Back To School" Theme. I'm not certain if only cards are allowed for the challenge/site. I sure hope not because I love that I found another site that wants us to play with our cricut.
Thanks for stopping by. As always I love to read your comments and feedback.

Thursday, August 12, 2010

Mini Album: Animal Shaped


Picture 1: Front of the mini album

Hi Everyone!!
A quickie post (maybe, lol). I made this mini for one of my closest girlfriends. She has the most adorable dog and she loves him to death. He is def her fur baby and he is def my fur nephew :)  I wanted to do this for her so she can show off Frankie's natural adorableness.

I'm also entering this in 'Scrapping Saturday Mini Album' challenge over at Fantabulous Cricut.  The theme/challenge was to create an "Animal- Shaped Mini Album". They just started a new Saturday challenge, in addition to their weekly Monday challenge. They are currently having a "smile" theme challenge in honor of National Smile Week. Hop on over to check out their blog.
Picture 2: An overview of one side of the 5 pages.

Picture 3: Pages 4&5. Also a couple of tags I'm throwing in there.

Picture 4: Pages 6&7

Picture 5: Frankie. Awwwww!!!!!
Thanks for stopping by/commenting.

Tuesday, August 10, 2010

'Flower Shower' Girl

Hi Everyone!
I feel like Ive been away for so long. Ive had so much on my plate lately & have been over stressed that I haven't been able to play along with some of my fave blogs or finish up any of my projects. But to make it up to myself (lol), I decided to treat myself. I bought 2 of the new August carts I should receive them this week. Yay!! And to top it all off, I won Lori's blog candy from the BBTB2 bloghop. WooHoo!!! I should be receiving her goodies this week as well. So im hoping that this weekend will make up for the crummy days I've been having.

Ok so onto the card. My eldest niece will be starting her senior year next week. She'll be going away to a school retreat & I think theres going to be boys there. So Im hoping she can meet new friends and a potential homecoming date. Ahhhhh those days!! So, I just wanted to make her a cute card of encouragement. I also wanted to enter this card in Momo's 'Flower Shower' challenge (use Flowers in the project). I missed her challenge deadline the last time so I should be good by a few hours this time. Me and time arent friends sometimes, lol.

Picture 1: Front of the card & personalized envelope
Picture 2: Closeup


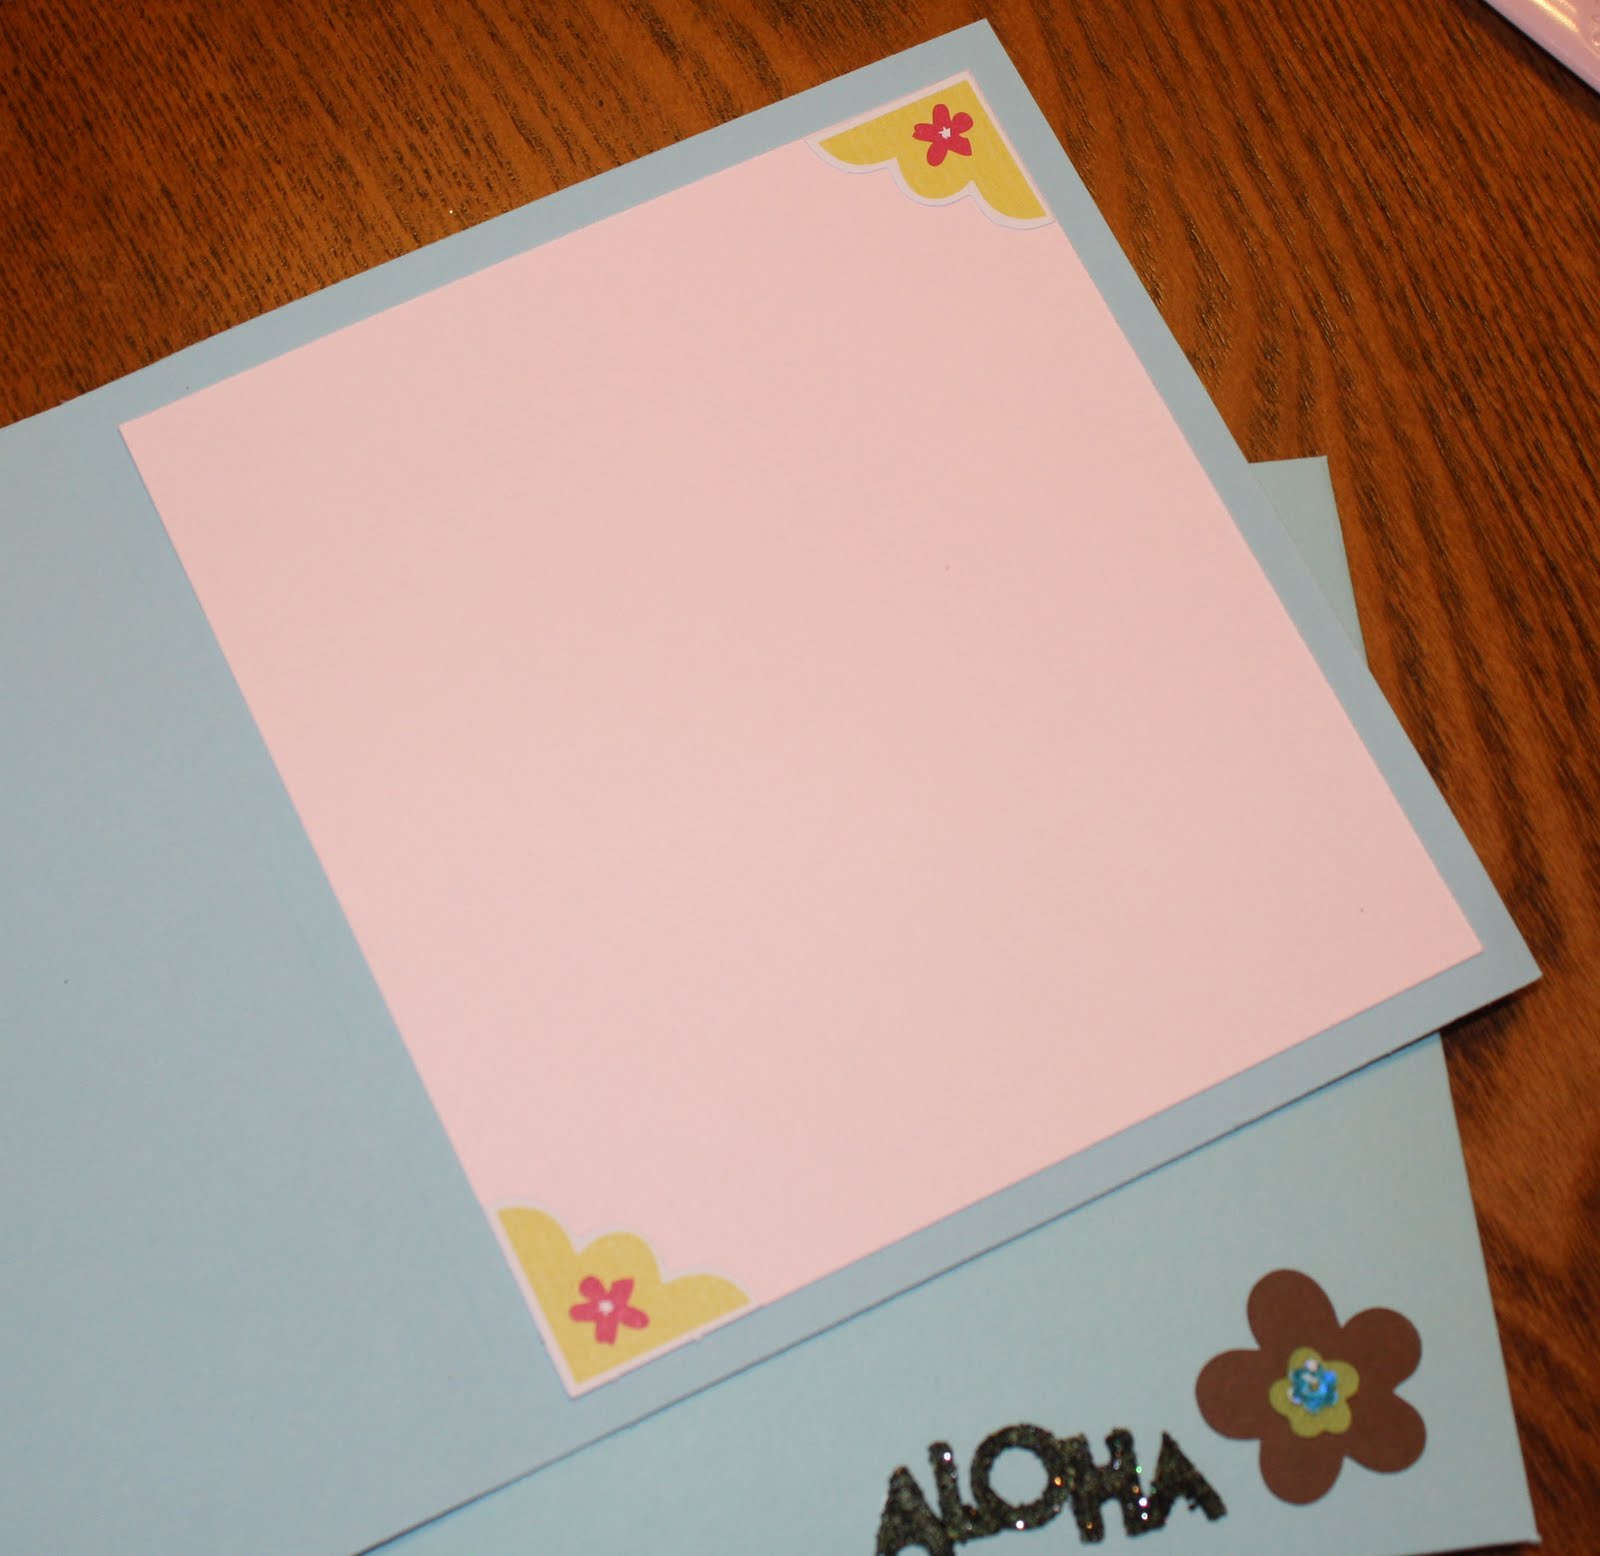
Picture 3: The inside of the card

Thanks for stopping by. And as always, I loe reading your comments.

Saturday, July 31, 2010

My Recycling Project

Hi Everyone!
A big Thank You to everyone that came over yesterday from Momo's blog. It meant a lot to me. I will hop on over to each blog as soon as I feel better. Ive been battling the flu and all Ive wanted to do is sleep.

A couple of nights ago I began working on my recycled project. I had thought about doing this for a while but as always I procrastinated. Actually I was ready to give up on the idea and throw it all away. But over at Crafting With Christina, she started her 2nd challenge & it's a recycling one. She just started her challenges but so far they have been fun. Go over and check out her blog.

OK onto my project...  I'm turning my scraps into paper buttons. I know that in comparison to others, this isn't much of a scrap pile but my little, teeny-tiny crafting space is extremely limited. Plus, I want to use new paper (lol).

Picture 1: I started with this....

 Picture 2: After quite some time and my puncher jamming several times, I got this....

Picture 3: And after several hours, I ended up with this.
I'm not completely done because my little Fiskars puncher cant handle the thickness of the button. So Ill be shopping for a crop-a-dile tomorrow. And I'm thinking of using a different technique to apply the Glossy Accents to the paper buttons.

Thanks for stopping by/commenting!

Tuesday, July 27, 2010

First Mini Album: Once Upon A Princess

Oh my gosh!!! I ran out of time. I thought I had some extra minutes to spare. The time difference can really throw you for a loop. I was trying to make the deadline for Momo's 'Girly Affair' challenge but that didn't happen. Either way, this is a challenge Ive been wanting to try. I was inspired by Joanna from Scrap-Making. She has made the most adorable minis. They seemed easy to make. Uh no, that wasn't the case for me. I stressed out thinking what paper, images, sentiments, etc to use. I try cheating a bit by buying the chipboard already cut out. But I don't think the cheater method was easier. I had to trace every sheet, manually cut it out and try to line it up perfectly .... that alone took me a few hours.

I inked all the edges to help blend the paper & chipboard. I was torn between a princess theme or a doll theme. I went for a girly theme. I really fell in love with the dollhouse on the paper & I wanted it to be a focal point. I used diff pinks, white & a smidgen of purple. After four days, this is what I came up with...
Picture 1: (L-R) The last page of the mini. I'm leaving it bare because I'm really crazy about the paper. Plus, when it gets put away it needs to be without embellies, etc. The front page is just the dollhouse, little dolly & title.

Picture 2: Page 2&3. This has space for 3 pictures (although the cupcake can be used as journaling tag as well)

Picture 3: Page 4&5. Page 5 has a several journaling tags that can be used for writing and/or some mini pics.

Picture 4: Page 6&7. The cut from page 6 I took apart. It cuts out with the towers connected to the saying but I didn't want the saying covered up with a pic. So I made a little card & glued the "Once..." on top. On the inside I lined it with the paper from pg 9. It gives you space for a pic & writing.

Picture 5: Page 8 and 9. These pages are for pictures and journal.
I'm happy with my mini. Its my first attempt & I'm sure with more practice I can get better at it. I know I have some bare areas that I need to add embellies to them but I don't want to do it now. I want to put it away for a day or two & then go back to it again. For the moment, I'm done looking at it. 4 days was enough. Lol! Plus, it will give me time to reboot & see it again with a diff eyes. It will be easier to add a few embellishes & not overkill it.
I already have another mini in mind. I really want to make one using my Summer in Paris cart but I'm going to wait for my Design Studio for that. I won it on eBay and its already en route. Yay!
Thanks for stopping by/commenting.