Hello Tickled Pink Lovers and Scrappy Friends!
 Pink fan Jess here and I'm thrilled to be here today (lol) well where else would I be, this is my blog. The lovely and funny owner, Kellie, of Tickled Pink Stamps chose my idea for the Facebook Group challenge of this month. I was over the moon when she gave me the green light because Tickled Pink is another favorite of mine. As much as I love the cute and cuddly, I just love these images that are a bit more mature and mysterious.
Ok, so lets get going because this is going to be a long post.
The challenge for the month of April is to create a Post-It Note Holder.
I find these to be great little treats. They can be given away at crafty parties or they can be kept to throw in your purse or have on your desk. These are also great because you are able to use your scraps (something I’m always trying to do so I can have an excuse to buy more paper, lol). Please note that this is not my original idea. I learned this from another blogger; I just took the idea and tweaked it to my liking.

Supplies Needed:
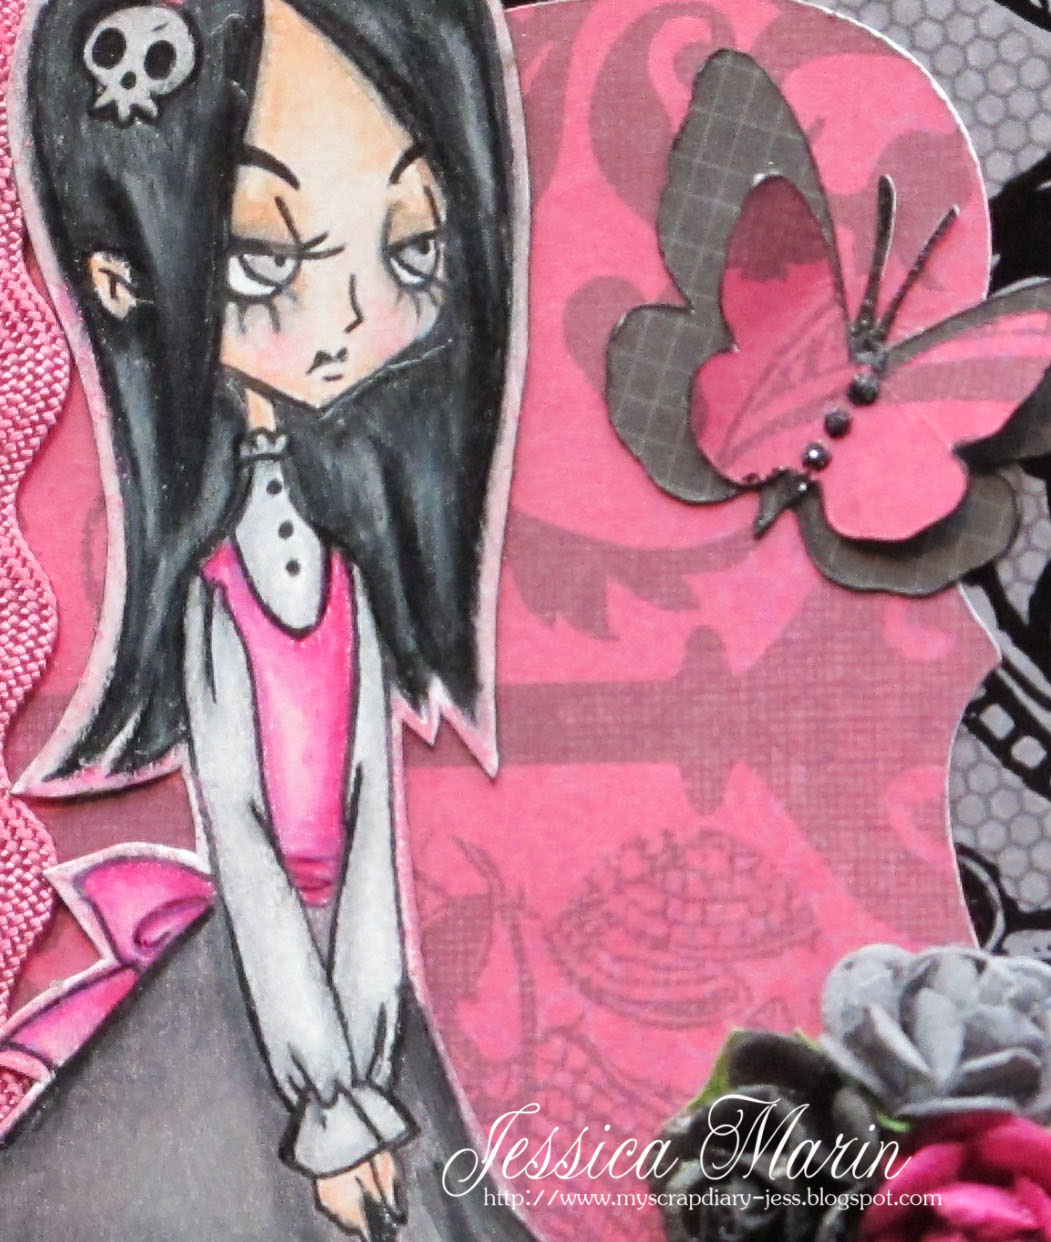
TPS Image (I used gorgeous Lilith, my favorite!)
Post-It Notes (Size: 3x3, 100 sheets)
Strong Adhesive Tape (Red Tacky Tape, Scoretape, etc)
Ribbon (Approx 12-16 inches , depending on your liking)
Scoreboard (I used the Martha Scoreboard)
Medium of your choice (I used Prismacolor Pencils)
Paper Trimmer
Embellishments of your choosing
*** Please note that the measurements given here are based on the Martha Stewart Scoreboard ***
Chipboard
Size 3¼ x 3¼ (2 pieces)
Size ½ x 3¼ (1 piece)
Pattern Paper/Cardstock:
Size 4¾ x 8 7/8 PP (1 piece)
Size 3 1/8 x 6 ¾ CS (1 piece)
Size 3¼ x 3¼ PP (1 piece)
Sizes translated into inches are as follow:
Size 3¼ = 3.25”
Size ½ = 0.5”
Size 4¾ = 4.75”
Size 6¾ = 6.75”

STEP 1:
Grab your paper that measures 4 ¾ x 8 7/8
Score it at: 3/4, 4 1/8, 4 ¾ and 8 1/8
Since this is the base of the project, I recommend that you use a heavy stock paper (pattern or plain, your choosing). I used DCWV paper.
*Please ignore the measurement I wrote on the paper with pen. I miscalculated my initial measurements. But the ones written here and photoshoped onto the picture are the correct ones.
STEP 2:
Flip the paper and score at 5/8 and 4 1/8

STEP 3:
Grab your 3 pieces of chipboard and apply tape to them. Apply each piece of chipboard in the center of its corresponding area. You should have some wiggle room on each side of each piece of chipboard.
*Note: The chipboard I used wasn’t flimsy. For example, some people like to use cereal boxes as their chipboard (I have done that in the past and it works great for some things). For this project, the chipboard I used would equal to 2 pieces of cereal box stacked up on each other.

STEP 4:
Grab your piece of paper that measures 3 1/8 and 6¾
Score (on the long side) at 3 1/8 and 3¾
This paper does not need to be as thick as your base paper.
When you tape this paper down, do it based on how it fits your center spine. This will give your paper room to breathe and will allow you to close it and open without a problem. Some of the chipboard will be seen on the sides and top but that will be covered up.
STEP 5:
Cut off all 4 edge squares off the base. Then cut the 2 side strips at an angle (shown in the picture.

STEP 6:
Apply tape to the 2 sides (the ones cut at an angle)
Grab your ribbon and cut it in half. I used 12 inches of ribbon and I cut that in half to have 2 pieces of 6 inch ribbon. Apply one piece of ribbon on each side. Then add another piece of tape on top of the ribbon. So it will be like a little sandwich {Base, Tape, Ribbon, Tape}**After creating the 2nd one, I realized that it would be better to not place the right side ribbon on the flap. Tape down the ribbon in the middle of the right side. You will still have your ribbon sandwich. And remember, the post-it pad will cover it.**
*Note: I used 12 inches of ribbon but you might want to use more. I wasn’t able to make a proper bow with the type of ribbon I used and the length I used. If you use thinner ribbon then 12 inches should work fine.

STEP 7:
Peel off the tape from the bottom and top flaps and adhere down.
Then adhere down the side flaps. This will give you a cleaner look.

STEP 8:
Grab your Post-It, apply tape to the back of it and adhere to the base.
STEP 9:
Grab your piece of paper that measure 3.25x3.25
Flip it to look like a diamond and cut down through the center

STEP 10:
Apply a thin strip of tape to the 3 edges shown in the picture. The tape is marked by red.
Then apply to the base as shown. This will create a pocket for a small note to fit in.
*Note you will have one piece left over. You can throw the 2nd piece. I used both to give you an idea of how to place the tape and paper.

STEP 11:
You can add trimming to your pocket if you like. If you decide to add a small note, it can not be bulky. It must be plain (as shown) or it will not fit. It must be plain (as shown)
*Note: You can place your pocket like in the previous picture or like this one. I prefer this way because it holds down the ribbon even more.*

At this point you are done! With the inside only. Lol!!
You can now close your holder and embellish the front cover. I tried not to use to many items on my front because I’m going to carry this around with me. And since my purse is a swirling vortex of, ummm, crap-lol, I cant have to much going on the front or else it will come undone.
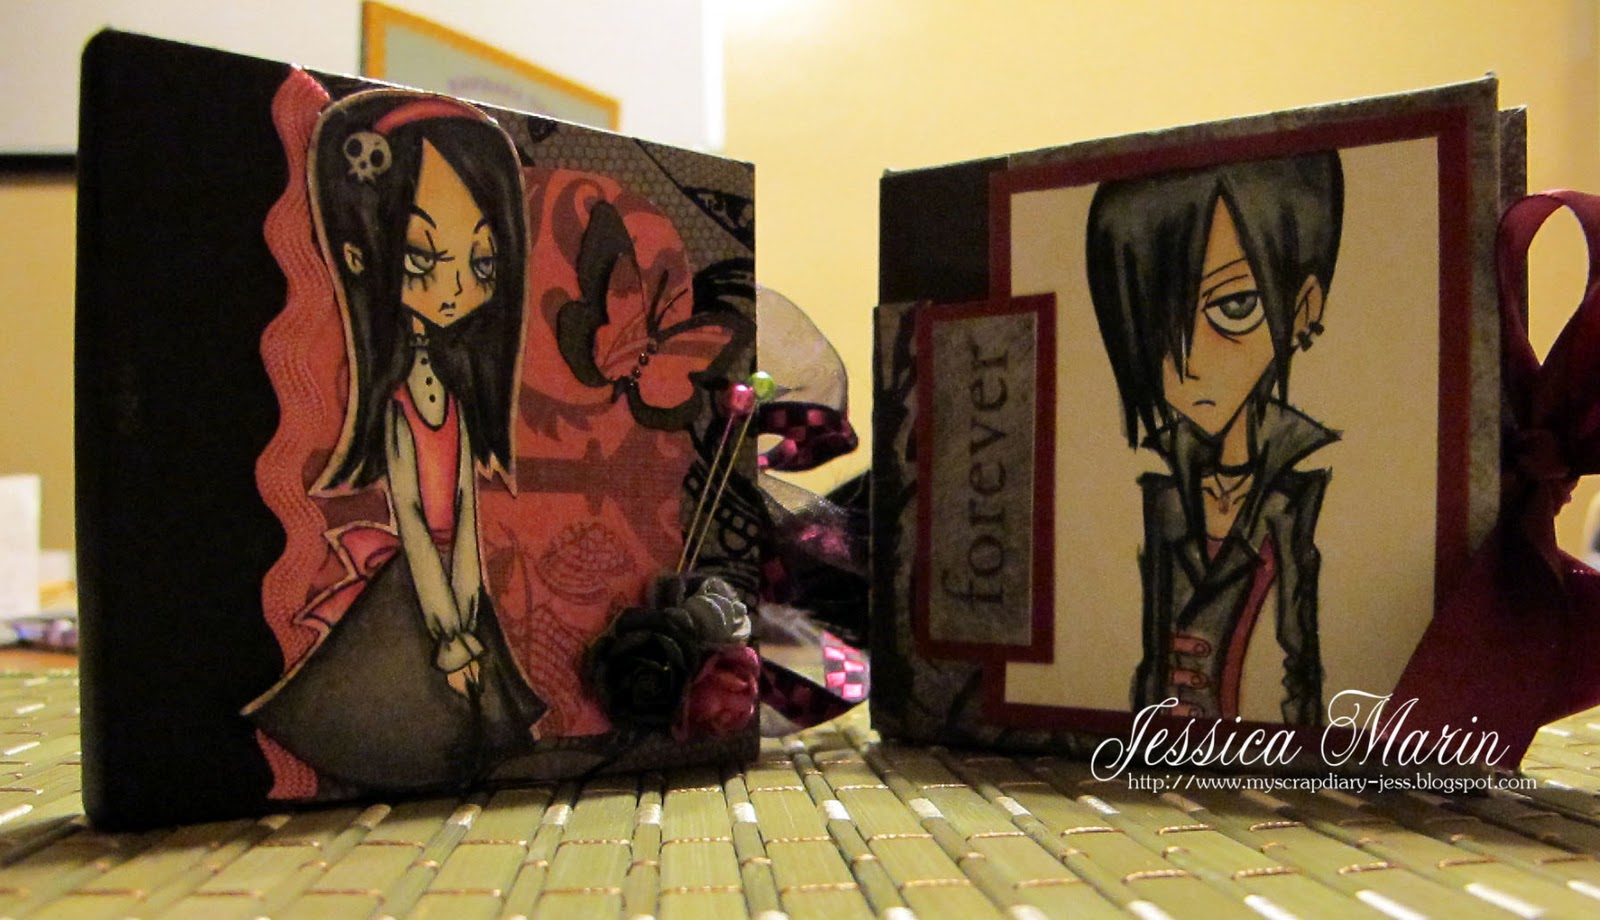
Here is my final creation. As you can see I used my favorite color combo again. Plus, how can I not use the color pink considering this is Tickle Pink Stamps :)
 Here is a shot from the back. They end up looking like little binders. You know, the 3 ring kind that you used in high school :). The spine also gives you room to write your name on it. I will do that once Im done.
Since I had a few mishaps with my first project. I created a 2nd one to make sure the measurements were correct and to iron out the kinks. Plus, Lilith look so lonely all by herself so I decided she needed a "friend" with her as well. lol.

I used one of the newest Lil Lads, Lestat.
And I used a new medium with him, watercolor pencils.
Thanks for stoppping by. I hope you enjoyed this and I cant wait to see what you create. As a side note: If you are not a memeber of theFB Tickled Pink Stamp Group, you are still able to play. All you need to do is ask to join the group and you must use a Tickled Pink Range Stamp.
*** SIDE NOTE: IMPORTANT****
I can not stress how important it is that you have wiggle room in your base. If you do not, this can happen to you. If you use thick chipboard you may need to alter your measurements by 1/8 or ½ an inch. This is what happened with me. I didn’t have enough space between each piece of chipboard which didn't allow me to close the holder. Because if this I had to slice the spine (from the inside and re-cut the middle piece of chipboard, which then led to me damaging the outside (ay-yay-yay). I resolved that by creating a bonding strip on the side (the black cs). But if your chipboard is thin like mine and you follow the measurements that I wrote then you will be fine.

10 comments:
What a cool idea! I still have the corner book mark on my to-do list, now Im adding this as well, so much to do....so little time.
Thanks for sharing :-D
This is fantastic Jess!! When I get a spare night will definitely make one of these!! HUgs xx
Great project!
This is my favorite so far!!! I love this.
Wow!! These are fabulous! Love your fave color combo! :-) Your tutorial is wonderful...thanks for taking the time!
~Sharon C.
I have always wanted to do one of these - now i have a real reason :) Lilith is my favorite too and LeStat is a very close second. I love that you made 2 so Lilith wouldn't be loney :) Will get started on this as soon as I can...
OOOh, wow, wie wundervoll und ich hab auch vor, mit zu basteln.
Klasse.
lg gila
How freaking awesome is that!! I love it Jess thanks for the tutorial I am going to have to give it a try!!
Erika
OMG!!! these are soooo cute! Definitely will be giving this a try. Love the Tickled Pinks you used. The're a fave of mine too. xxD
WOW your tutorial is just FABULOUS!!! And of course I just LOVE your choice of stamps - totally gorgeous projects!
xXx
Post a Comment